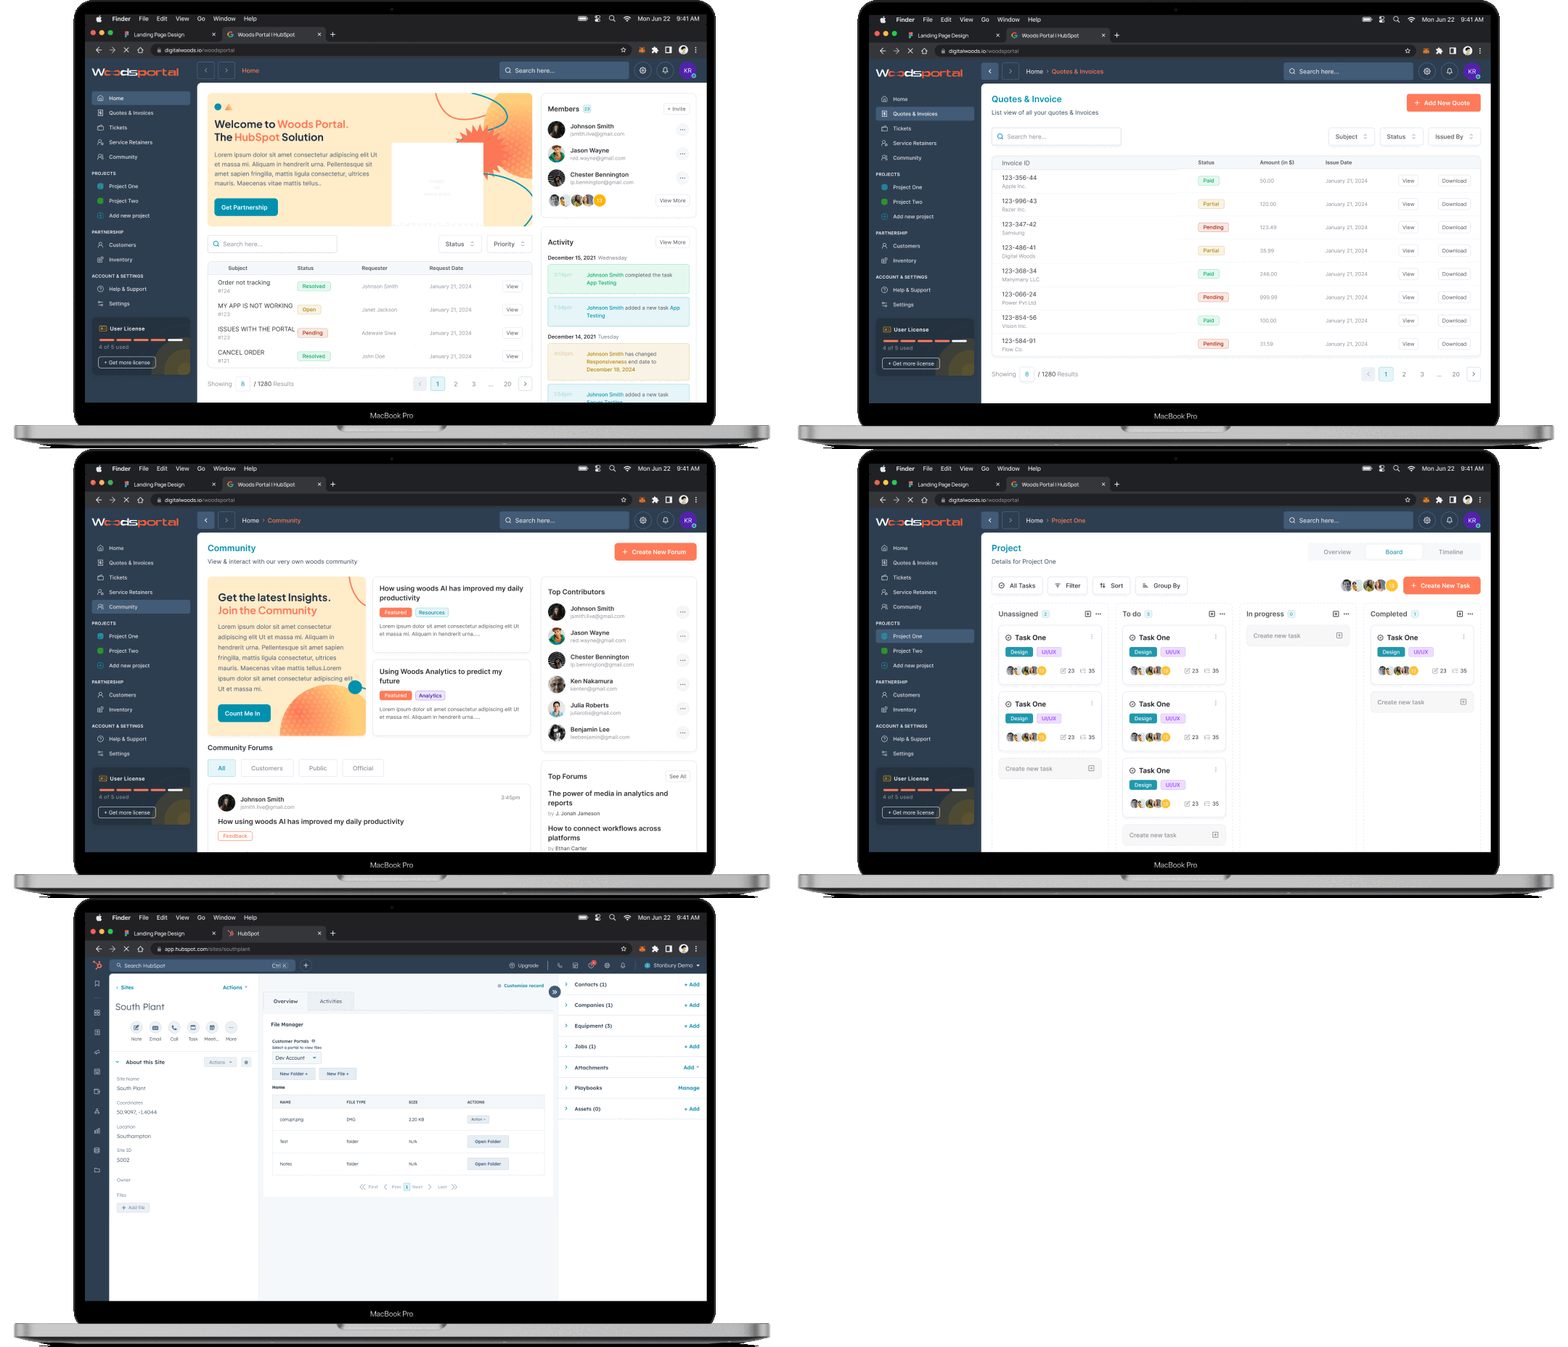
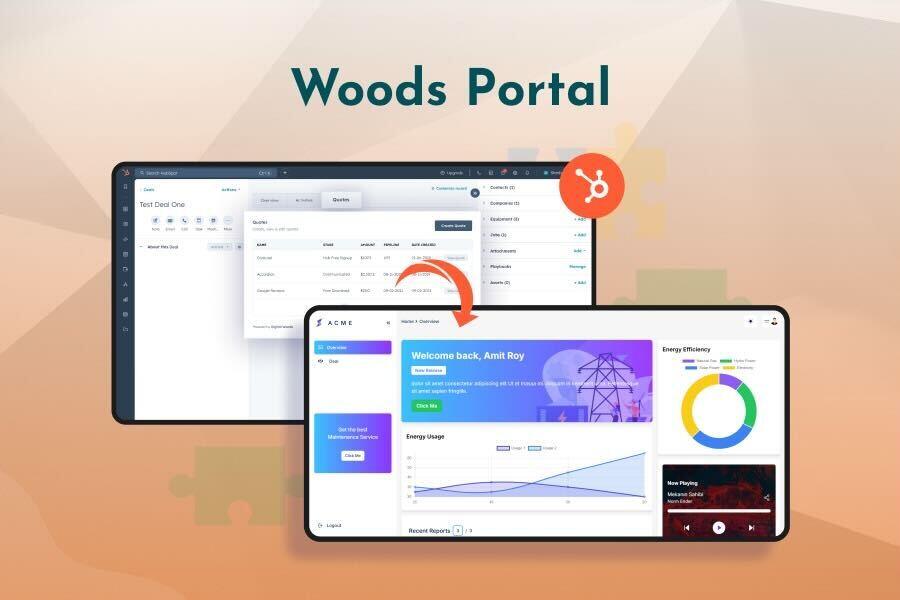
This guide aims to assist HubSpot users in setting up and managing their memberships using the Membership Portal module by Digital Woods. By following the outlined steps, users can create a fully customizable membership site, provide exclusive content for members, and control access to ensure a secure and personalized experience for their contacts.
Install the Module
- Start by installing the Membership Portal module from the DW Hub marketplace. You will need to have access to your HubSpot portal to initiate the installation process. Once installed, the module will be ready for use in your portal, giving you access to membership-specific templates and functionality.
Create a Website Page
- After the module installation, proceed to create a new website page within your HubSpot account.
.jpg?width=3840&height=1820&name=Pic%201%20(1).jpg)
- Choose the Membership Portal Theme as the theme for the page.
.jpg?width=1480&height=780&name=Pic%202%20(1).jpg)
- Next, select the Membership Integration Template. This template is tailored for membership sites and will provide a framework for your page.
.jpg?width=1883&height=893&name=Pic%203%20(1).jpg)
- Once the template is selected, you’ll see a blank page in the editor, ready for content to be added.
Update Page Settings for Access Control
- Before adding content, it’s essential to configure access control to ensure only specific contacts can view the page.
.png?width=1948&height=797&name=Pic%205%20(2).png)
- Go to Page Settings, which is found in the top toolbar when editing the page.
- In the Audience Access section, set up the rules to restrict access to members only. Under Access Control, select the option that requires Access group membership to view the page. This ensures that only individuals who belong to a defined access group in HubSpot can access this content.
.jpg?width=1920&height=905&name=Pic%204%20(1).jpg)
- Close the settings after applying these changes. You can publish the portal after finalizing your customizations.
Edit Page Contents
- In the HubSpot page editor, the Page Contents section is on the left side. This is where you can manage and customize the page layout and its components.
- Locate the membership dashboard module within the editor's main content area. This module serves as the core of your membership page, offering various options for customizing the member experience.
.jpg?width=1895&height=790&name=Pic%206%20(1).jpg)
- Click on the module to access and configure the available options.
Membership Dashboard Features
The dashboard unlocks a suite of customization tools that let you tailor every detail to fit your brand, including:
-
Preview Dashboard allows you to view how your membership portal will look before publishing. While in the page editor, enabling this feature will let you see your changes in real-time. However, it’s important to note that the preview function will not work if the HubSpot Custom Object feature is enabled. After completing your edits, remember to disable the preview for smoother performance.
- Hubspot Defined Objects are pre-configured by HubSpot, allowing you to manage standard data types, such as contacts, deals, companies, and tickets. By using defined objects in your membership portal, you can integrate existing HubSpot CRM data into the membership site, enabling a seamless connection between your portal and your CRM database. To make the most of it, you’ll need to add details like:
.png?width=1919&height=817&name=Pic%207%20(1).png)
- Object Name: What’s this data all about?
- Object Properties: Specific attributes related to the object (e.g., contact properties like first name, last name, etc.).
- Object Type ID: The unique identifier for the object type.
- Icon: A little visual flair for your dashboard interface!
- For more flexibility, the module also supports HubSpot Custom Objects, which allow you to define and manage your own data types outside of the standard HubSpot objects. These are particularly useful for businesses that need to manage unique data sets. The setup is the same as with defined objects—just input the Object Name, Properties, Type ID, and Icon, and you’re good to go.
- Beyond just objects, your dashboard offers even more ways to personalize your portal. Add your company logo, enter your company name, and link your logo URL. Plus, you can define your CTA (Call-to-Action) buttons and create eye-catching banners that engage your members. It’s all about making the portal your own while keeping things user-friendly.
.png?width=1920&height=795&name=Pic%208%20(1).png)
By following these steps, you'll successfully set up and customize a membership portal in your HubSpot account, ensuring secure access for your contacts and a seamless experience for your users. For further assistance, feel free to reach out to our support team at for prompt guidance.


.png)


