
Explore Product Documentation
Email Countdown Timer


Introducing the ultimate Email Integrated Countdown Timer Module, your go-to tool for adding urgency to your campaigns! This sleek and intuitive module seamlessly embeds into your emails, counting down in real-time to your event or offer expiration. Customize the box color to match your brand and tweak the font color for maximum visibility, ensuring your message stands out. Perfect for promotions, limited-time offers, and event reminders, this module boosts engagement and drives action like never before. Enhance your email marketing strategy with this eye-catching, easy-to-use countdown timer and watch your conversion rates soar!
This documentation guides you through the steps to set up an Email Integrated Countdown Timer Module in Hubspot. Follow the instructions to seamlessly embed a countdown timer into your email campaigns.
Setup Process
- Access Your Hubspot Portal:
Open your web browser and go to Hubspot. Log in to your Hubspot account with your credentials.
- Navigate to the Marketing Section
Once logged in, locate the main navigation menu, and hover over or click on the “Marketing” tab to reveal the dropdown menu.
- Access the Email Tool
In the dropdown menu, select “Email”, this will take you to the Email Marketing Dashboard.
- Create a New Email
On the Email Dashboard, click on the “Create Email” button. Choose the type of email you want to create (e.g., Regular, Automated, Blog/RSS)
- Select an Email Template
Hubspot will prompt you to choose an email template. Browse through the available templates and select one that fits you, and click on the selected template to open it in the email editor.
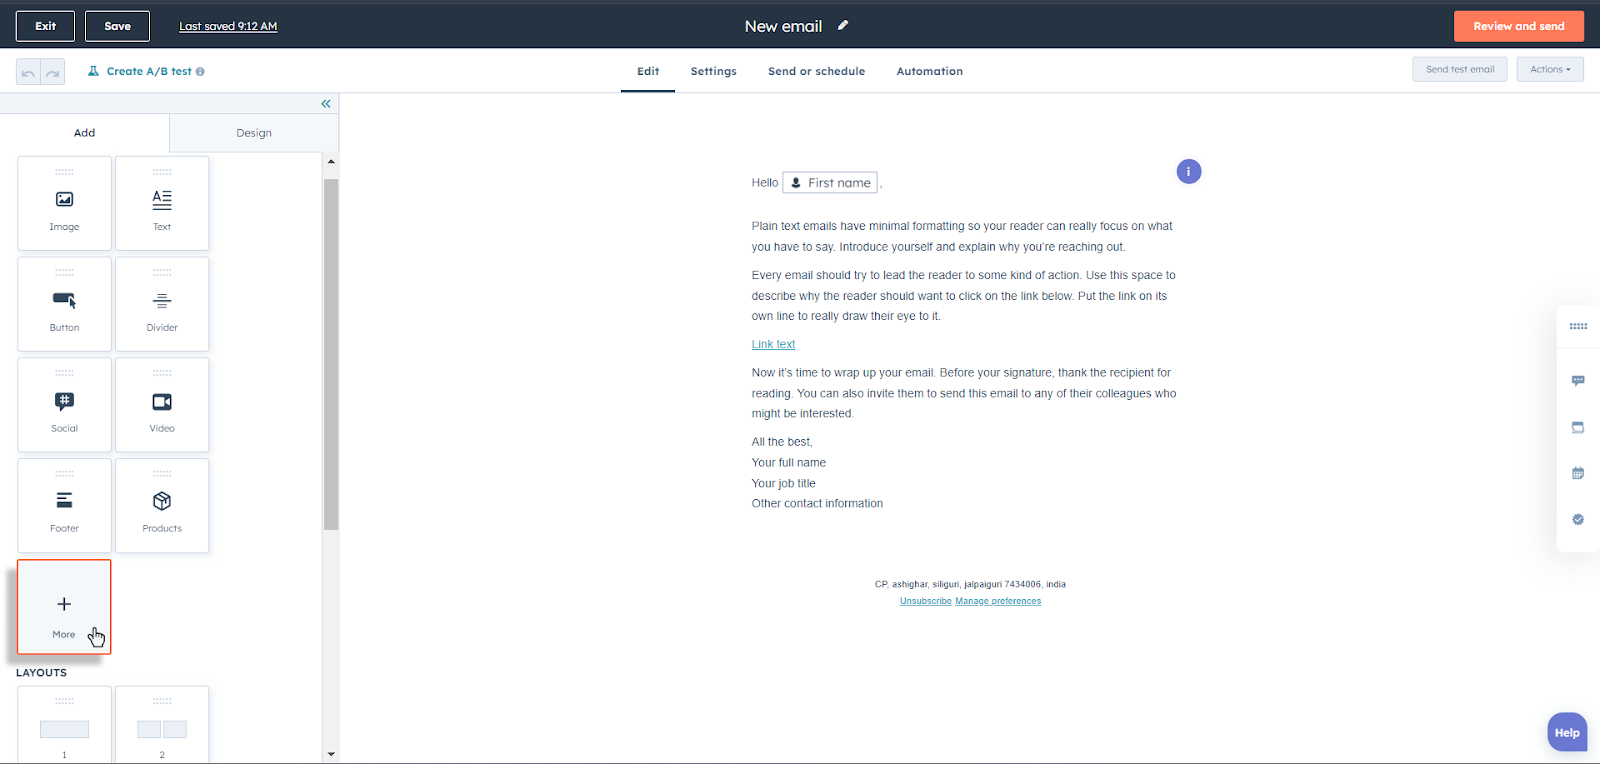
- Access More Modules
With the email editor open, look to the left side of the screen where the content editing sidebar is located. Scroll down to find “More” Module Section, and click on it to expand the list of additional modules.
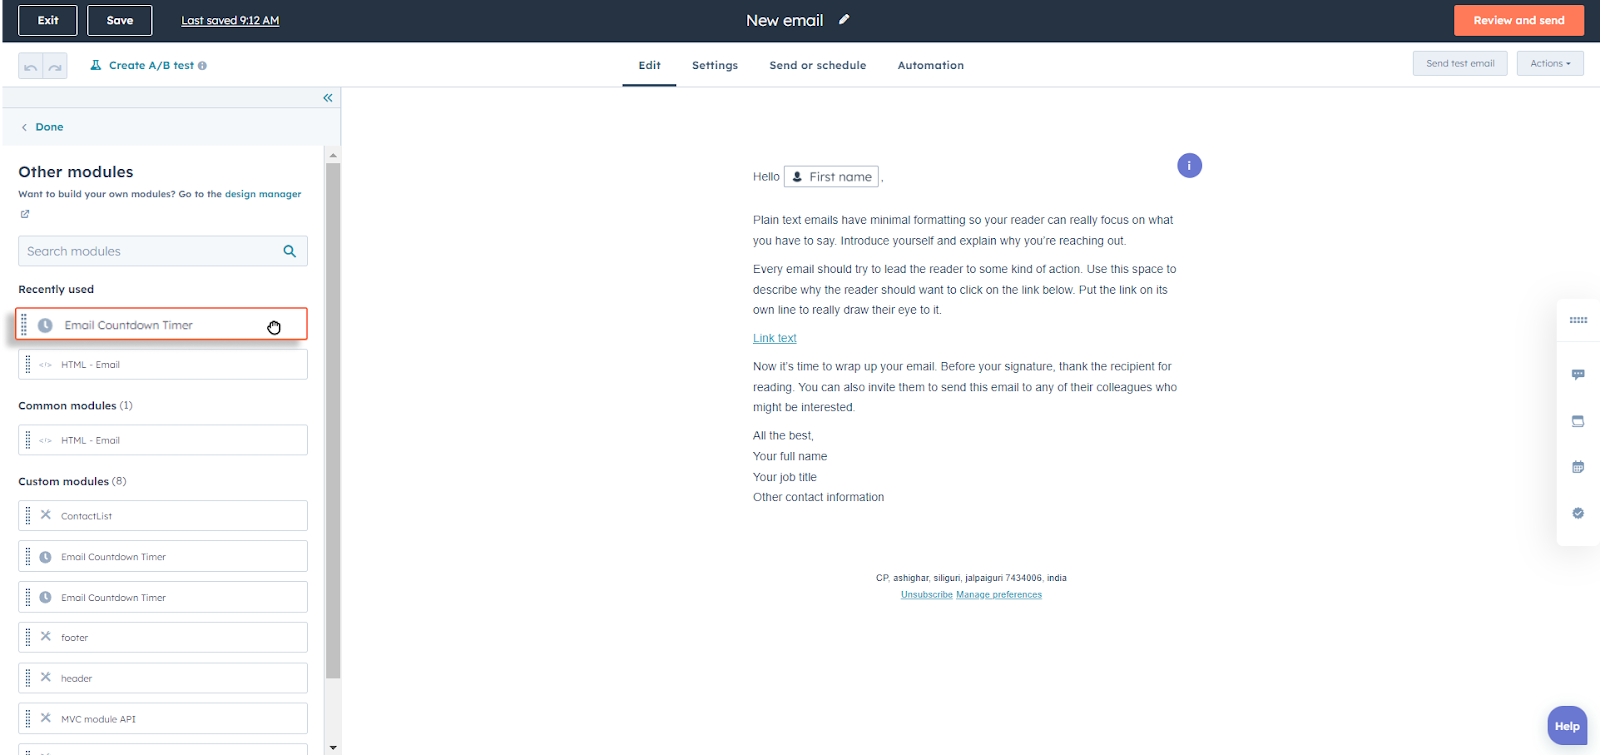
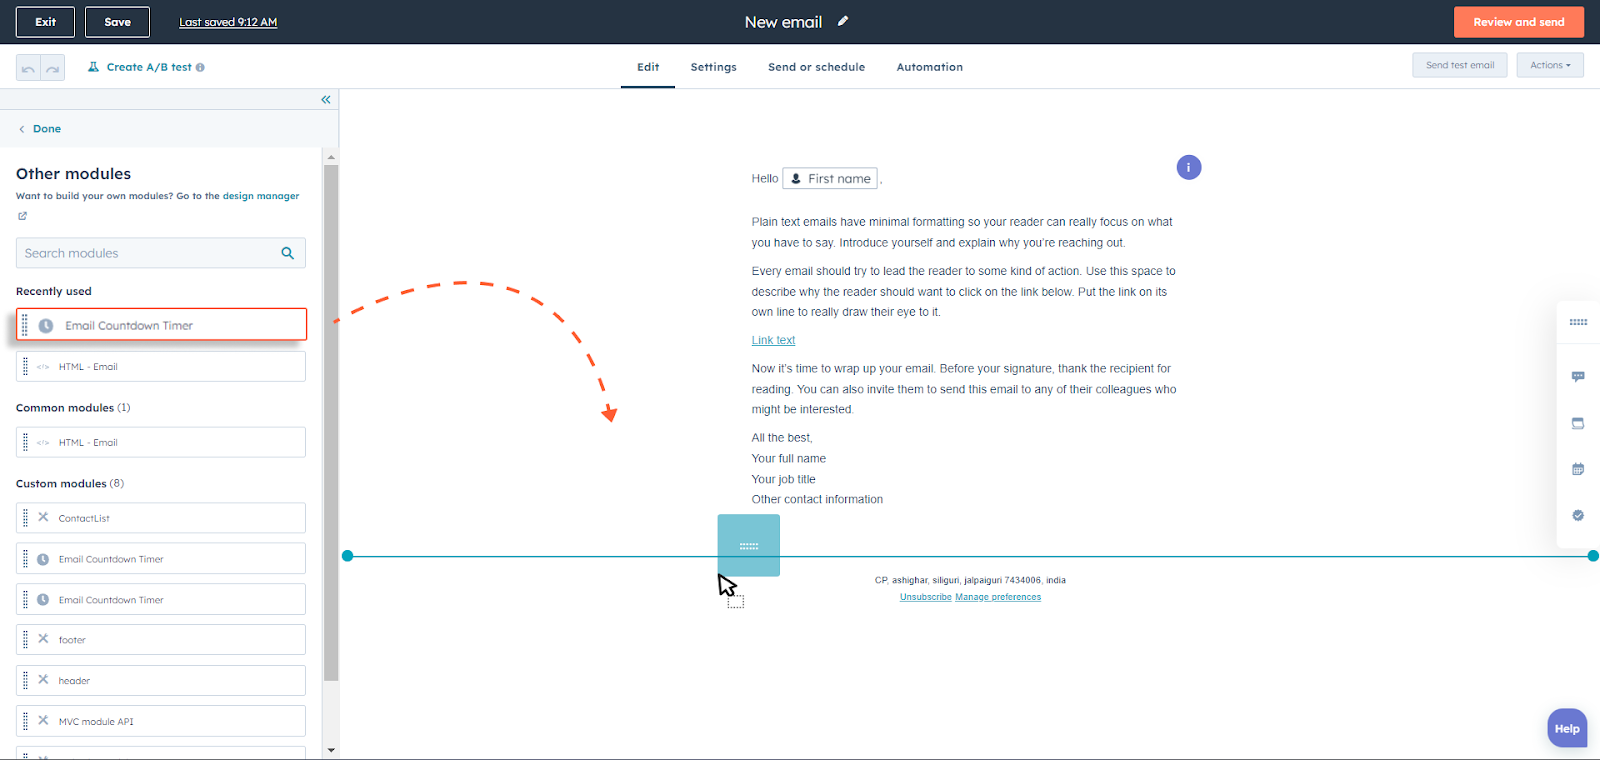
- Add the Email Countdown Timer Module
Locate the Email Countdown Module, drag the module to the desired location within the email template, and drop the module into the place.
- Customization
Set the end date and time for the countdown, also adjust the box color and font color to match your branding.

- Final Steps
After finalizing your email content, you may either save it for later or proceed to send. Use the “Preview” feature to see how the email looks with the embedded countdown module. When satisfied, click “Send” or “Schedule” to deploy your email campaign.
By following the steps you'll effectively integrate a countdown timer module into your Hubspot Email, creating a sense of urgency and enhancing engagement with your recipients. For additional assistance, contact our support team (support@digitalwoods.net) for prompt assistance.