Explore Product Documentation
Client Portal
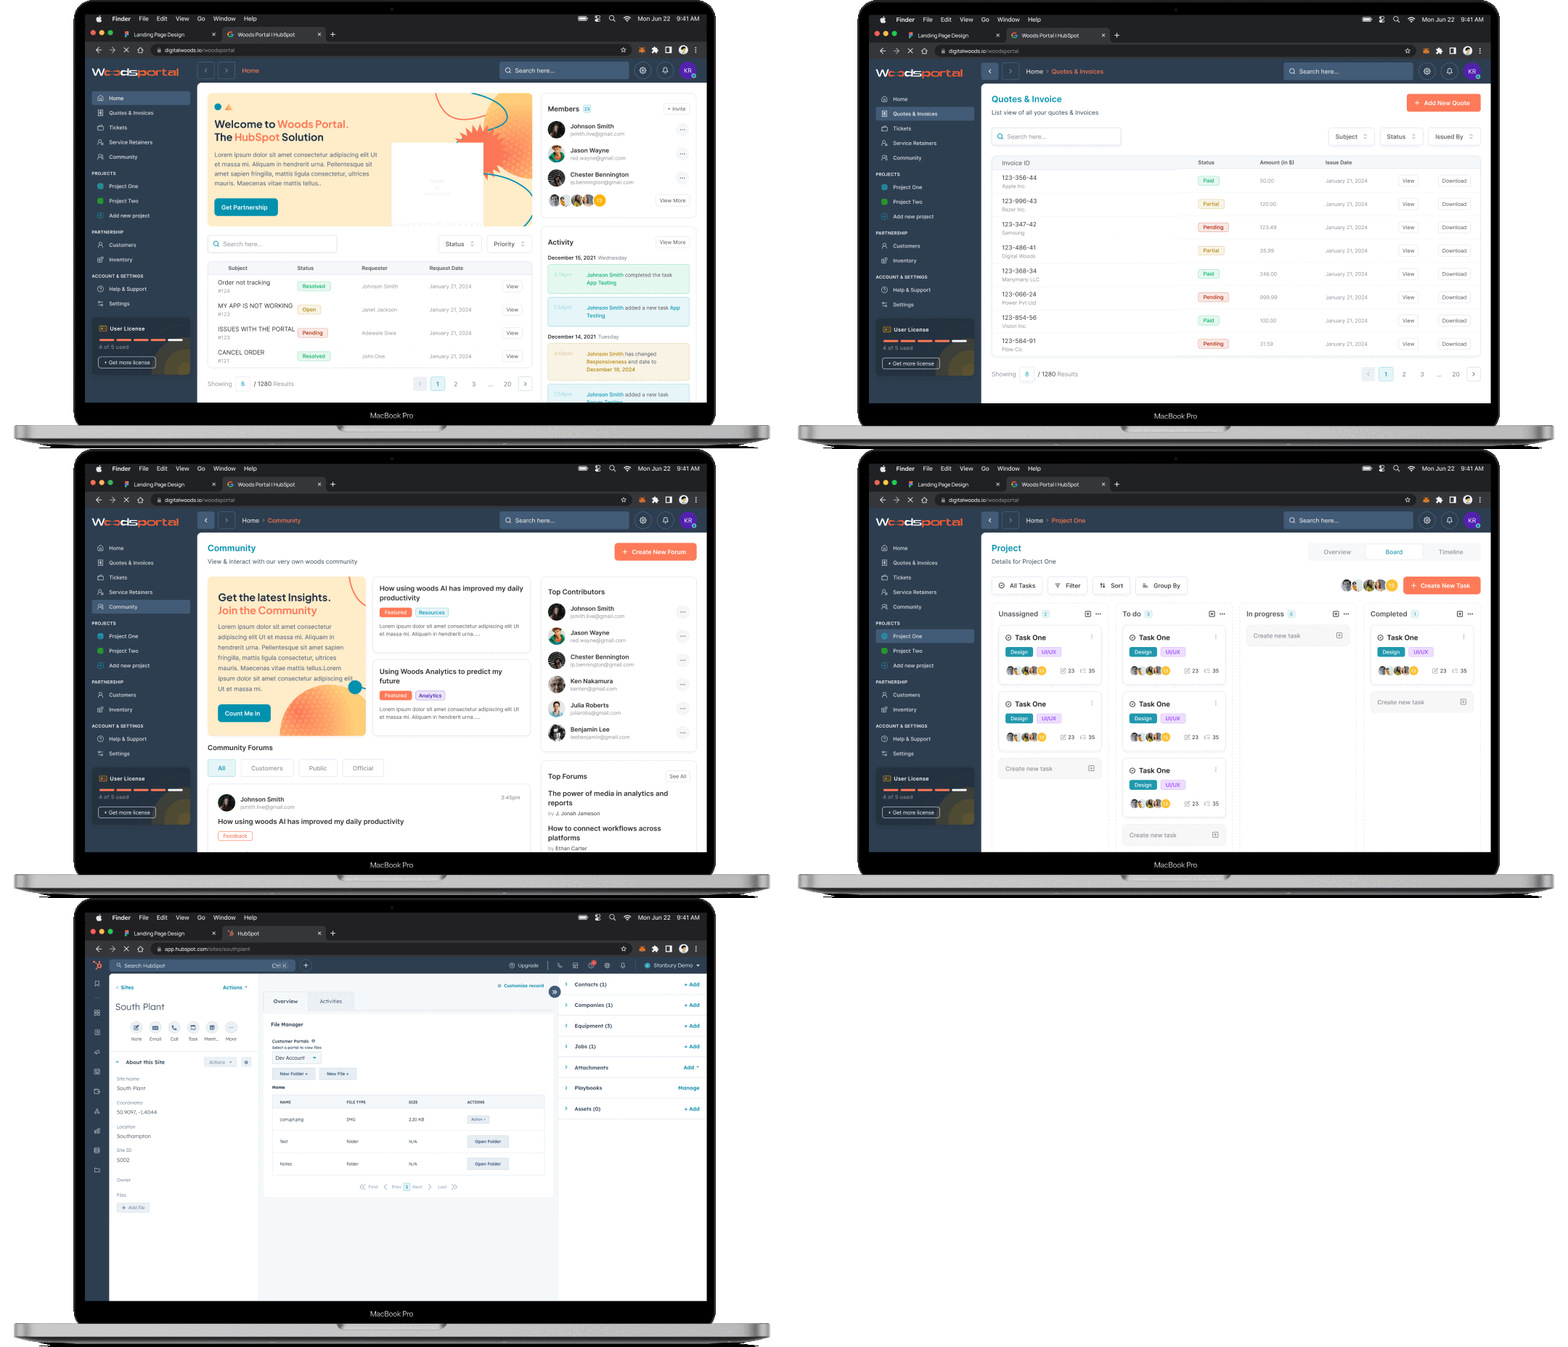
The client portal in WoodsPortal serves as a dedicated space where clients can securely access, manage, and interact with their associated data.
Designed for seamless collaboration, it allows users to navigate through relevant objects, view assigned tasks, and engage with essential business information—all in one centralized hub.-1.png?width=619&height=293&name=image%20(1)-1.png)
Key Features:
- Personalized Access: Users see only the data relevant to their role, ensuring privacy and security.
- Multi-Portal Support: Organize and segregate data across multiple portals using association labels.
- Structured Object Management: View and interact with linked contacts, vendors, sites, equipment, and jobs through intuitive object associations.
- Fully Customizable Interface: Adjust branding elements, colors, and layouts to align with your company’s identity.
- Simplified Navigation: Quickly access key sections through sidebar customization, menu options, and a structured home tab.
The client portal streamlines data visibility and management, enhancing efficiency for both internal teams and external stakeholders.
Customize the Frontend
The client portal is designed to be fully customizable to fit your business needs. Tailoring the portal’s appearance, structure, and navigation allows you to create a cohesive, branded environment that enhances usability and supports your company’s objectives.
-1.png?width=638&height=300&name=image%20(2)-1.png)
Visually, the client portal can be adapted to reflect your company’s identity. Customize logos, colors, and page elements to create an experience that aligns with your brand’s aesthetic. This visual consistency enhances recognition and user satisfaction.
Beyond design, the portal’s structure can be optimized to improve data accessibility. This involves organizing content in a way that provides users with easy access to important information, making their interactions with the platform more efficient and effective.
-2.png?width=632&height=306&name=image%20(3)-2.png)
Navigation within the portal is also key to usability. Customizing the menu structure, including the addition of relevant links or objects, ensures that users can find and engage with content in a straightforward manner.
By leveraging these customization capabilities, you can create a portal that aligns perfectly with your business, ensuring a user-friendly experience that reflects your brand’s professionalism.
Configure Sidebars
WoodsPortal allows full control over sidebar customization, ensuring users see the most relevant objects and data. You can configure the Right Sidebar, Home Tab Objects, and Menu Options directly within the WoodsPortal module on your HubSpot website page.


1. Right Sidebar
- Supports up to two objects in the right sidebar.
- Select the objects you want to display.
- Enter Object IDs (Find them here).
- Additional options include:
- Filter by Pipeline – Show only objects from specific pipelines.
- Show Primary Company Data – Display key company details if linked to the object.

2. Home Tab Objects
- Choose objects to appear in the Home Tab for quick access.
- Enter their Object IDs to associate them with the portal.

3. Menu Options
- Add HubSpot Standard Objects and Custom Objects to the main menu.
- Select as many objects as needed and enter their Object IDs.
- Customize further by:
- Adding SVG Icons for each object.
- Filtering objects by Pipeline for targeted visibility.

This structured setup ensures an efficient and personalized user experience, making navigation seamless within the client portal.
Branding Your Portal
Customize every aspect of your client portal to align with your brand identity. From logos and colors to sidebar CTAs, you have full control over how your portal looks and feels.
1. Logo & Company Identity
- Upload and resize your Company Logo.
- Add both Dark Mode & Light Mode Logos for theme adaptability.
- Display your Company Name prominently within the portal.

2. Sidebar CTA & Welcome Message
- Set a Sidebar CTA Text and link it to a relevant page.
- Customize the Button URL for easy navigation.
- Personalize the experience with a Welcome Message for users.

3. Complete Visual Customization
- Define your Background & Text Colors for a cohesive look.
- Customize Sidebar Card Colors to structure content effectively.
- Adjust Detail Page Banner Colors & Text Styles to maintain brand consistency.

With WoodsPortal’s flexible branding options, you can create a client portal that aligns perfectly with your brand’s aesthetics and delivers a professional experience

